You reach a scenic overlook at sunset and want a picture with everyone in it. Handing the phone to a stranger works until the path becomes quiet. At dinner, the light is dim and the table is cramped. Back at the hotel, you discover that the accessory pouch is heavier than the camera equipment you actually used.
A useful phone-camera kit should remove one recurring obstacle. For most casual travelers, that obstacle is a stable place to put the phone, access to flattering light, or confidence that the battery and storage will last. This guide offers buying criteria based on practical shooting situations and manufacturer guidance. It does not claim that we tested the accessories or that they will improve every photo.
Start with the photos you miss
Look through your recent gallery. If family photos consistently exclude the person holding the phone, a support and timer deserve attention. If your pictures are blurred in dim rooms, consider steadiness and light before an add-on lens. If you already get the framing you want but cannot finish a day without recharging, a small power bank might be the most useful camera accessory.
A cloth for the lens and a few minutes learning the built-in controls cost little. Check whether your camera app lets you set a timer, adjust exposure, or choose a different focal length. Buying hardware before understanding those options can create a complicated kit for a problem the phone already solves.
Choose by situation
| Photo you want | Accessory to consider | Important limitation |
|---|---|---|
| Group portrait on a quiet trail | Compact tripod and secure phone clamp | Uneven ground requires careful placement |
| Food or small objects indoors | Small light with adjustable output | Direct light can look harsh |
| Walking video | Grip or stabilizer suited to the phone | Adds setup, weight, and charging tasks |
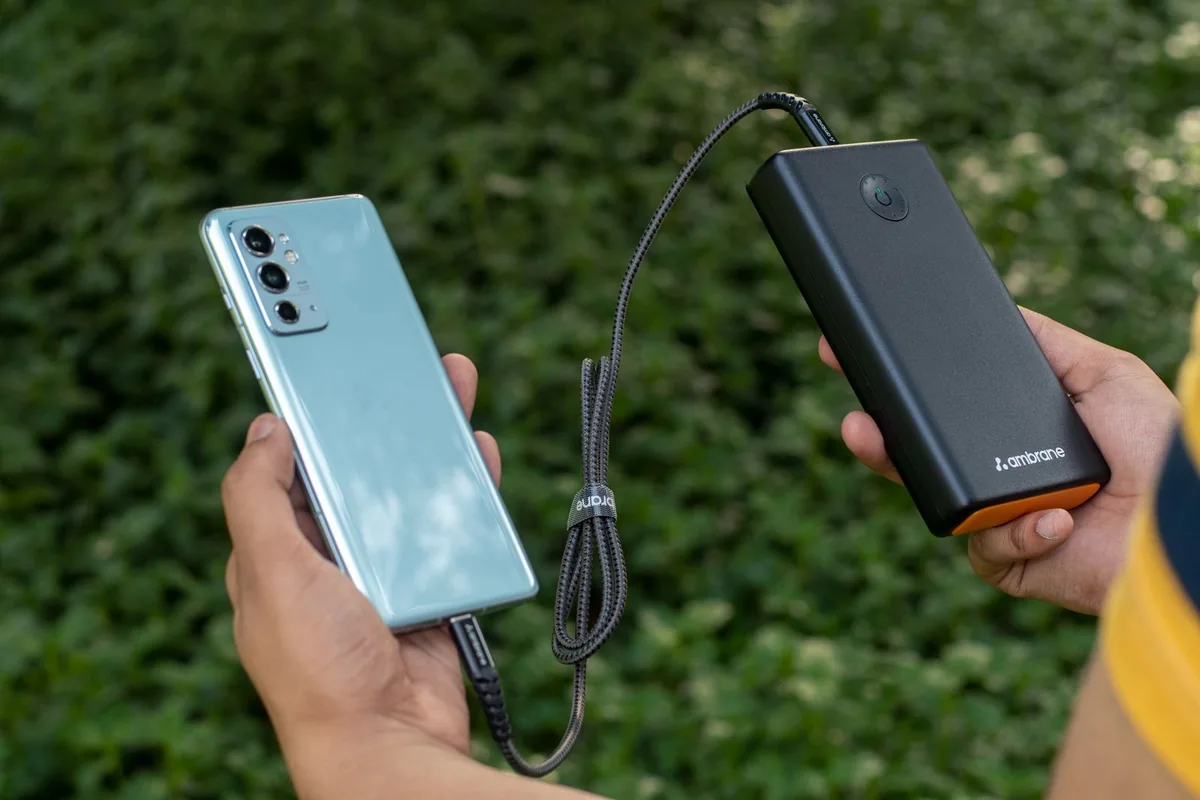
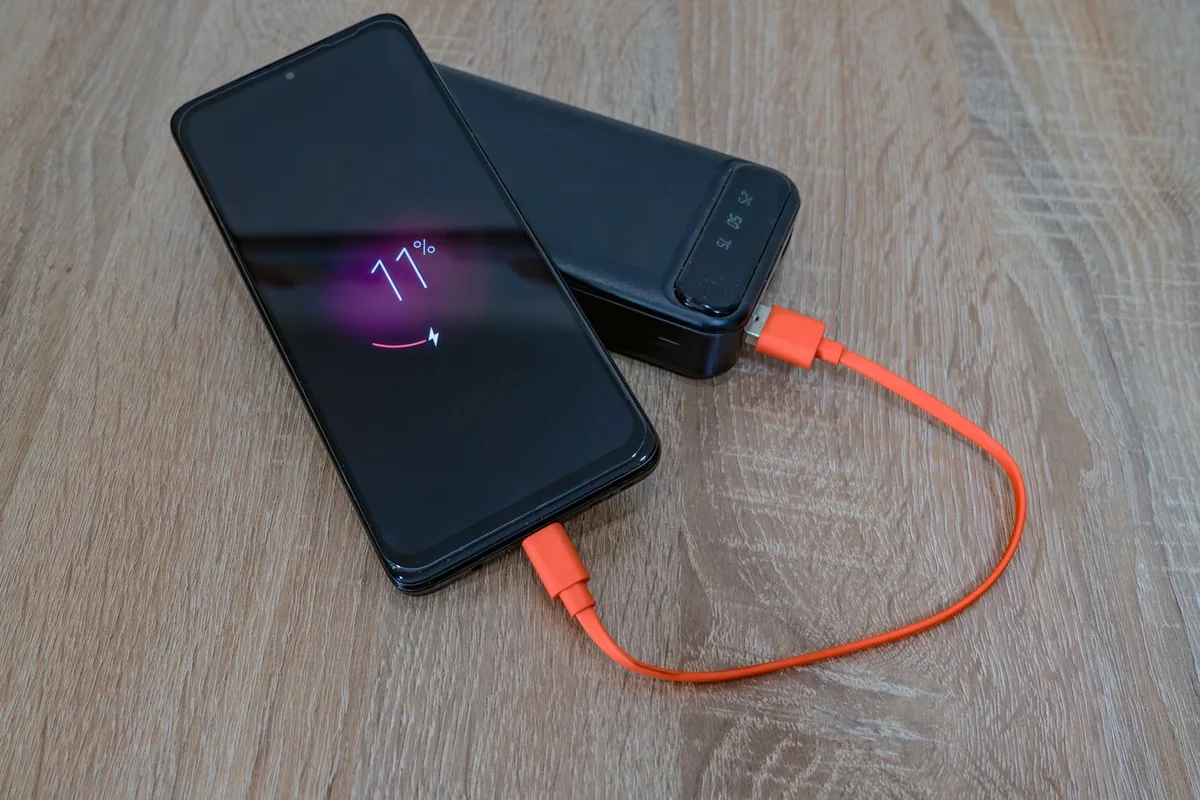
| Longer day outdoors | Power bank and suitable cable | More weight and heat management |
A tripod earns its place through stability
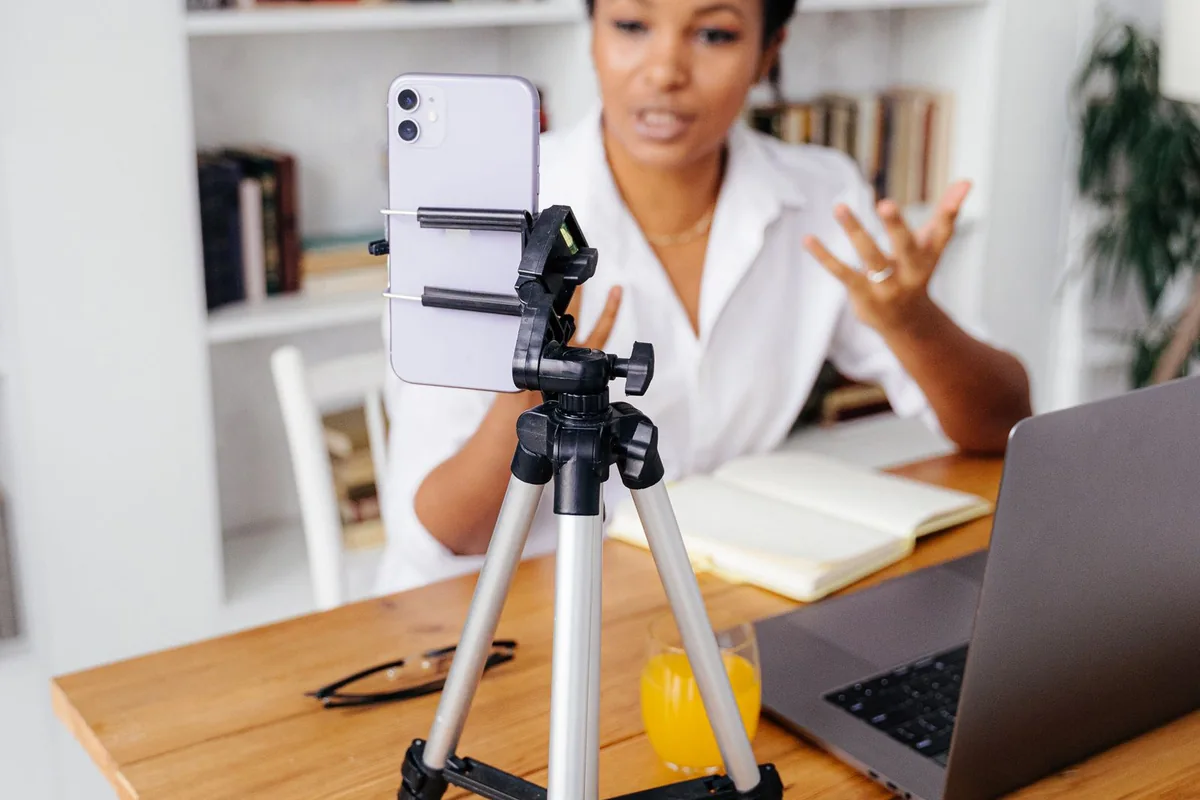
Check the clamp’s stated size range with your phone and its case. Look at how the mounting mechanism locks and whether the support can safely hold the phone in landscape and portrait orientation. A very tall, very light tripod may be easy to pack but awkward outdoors. A tabletop support can be enough for a hotel-room video call or group picture from a picnic table.
Use the timer to avoid moving the phone at the instant of capture. Keep the setup clear of pedestrian traffic and avoid perching it somewhere a fall could harm somebody. A remote shutter can be convenient, but the phone’s own timer may remove the need for another battery-powered accessory.
Apple’s Night mode guidance describes supported iPhone features and the usefulness of steadiness in low light. Availability varies by model. That guidance supports using a stable setup; it does not establish that any particular tripod is better than another.
Buy light for the room, not for the label
A small adjustable light can help with a desk recording or a close-up when you control the scene. It is less useful when you cannot position it appropriately, such as across a crowded restaurant. Look for adjustable brightness, a secure mount, suitable power requirements, and a diffusion option. Check whether the kit includes those parts or requires separate purchases.
Try facing a window before adding artificial light. Avoid directing a bright light into people’s eyes, and ask permission before turning an intimate dinner into a shoot. Good accessories should make the experience easier for the people being photographed too.
Be selective with lenses and stabilizers
Clip-on lenses have compatibility and alignment questions. A thick case, a large camera island, or multiple built-in cameras may interfere with positioning. Buy only when the manufacturer explicitly supports your phone and when the effect serves a type of image you intend to make. A generic “professional” claim does not establish image quality.
A stabilizer can be useful for planned walking video, but it adds balancing, an app, and another device to charge. Check the supported phone dimensions and weight with the accessories you will use. For a few vacation clips, a simple grip and more deliberate movement may be the more manageable purchase.
Finish the kit with a workflow
Leave room for photos and download the editing app you plan to use before departing. Bring a cable that can handle your intended charging or transfer job; these are not identical requirements. Establish a backup routine when you have a reliable connection. A camera accessory cannot recover a phone that is lost before its pictures are backed up.
Official manufacturer shopping entry, not an affiliate link: browse Apple’s iPhone accessories. Treat this as a place to inspect compatibility and available options, rather than an endorsement of every item listed. Our phone upgrade checklist can help if a missing built-in camera feature is the actual obstacle.
Frequently asked questions
Should I buy a lens kit before a tripod?
For group photos and stationary low-light scenes, a stable support is usually the more direct solution. An add-on lens serves a narrower creative purpose.
Will a light improve every indoor image?
No. Position, subject, ambient light, and permissions matter. Start with a controllable scene and modest output.
Do I need a Bluetooth shutter remote?
Not necessarily. Try the built-in timer first, then buy a remote only if walking back and forth repeatedly gets in the way.
Sources
Primary documentation checked October 7, 2026: Apple’s Night mode instructions and official photography-accessory catalog. Accessories should be checked against the exact phone model, case, and intended camera application before purchase.